
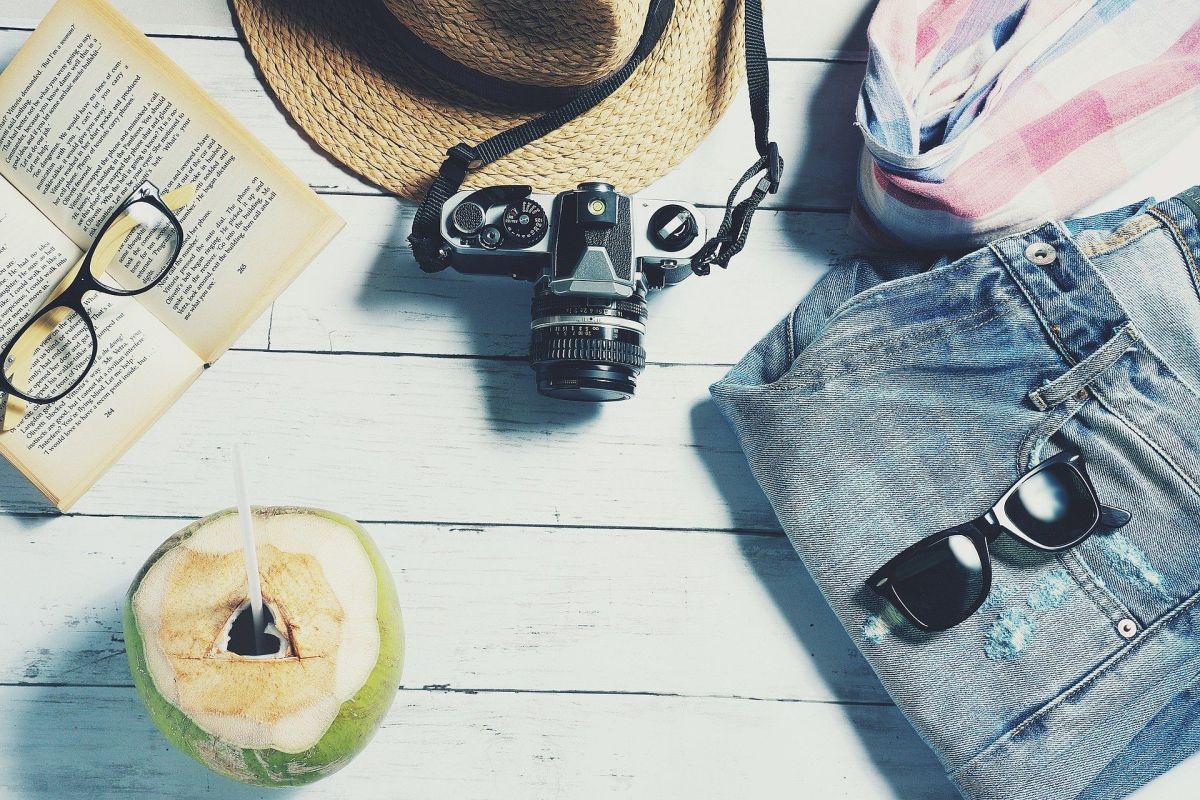
Photographers are likely to be familiar with the Rule of Thirds, Fibonacci spiral and Golden ratio. But do you know how they relate to photography? Here's a quick explanation. You'll also learn how to make your compositions better. These techniques will help you take better photos if you don’t already know these concepts.
Golden ratio
It can be used to position points of interest in photography. It is a guide for the viewer and creates an atmosphere of natural balance. The Fibonacci loop complements landscapes and portraits. In architecture, it is used to complement spirals on staircases and roofs. The following tips will show you how to use this technique when photographing. This technique can also be used in photo editor software.
Fibonacci spiral
The Fibonacci Spiral may seem abstract but it can be applied to photography. To create a spiral, imagine a small rectangle, bisected from corner to corner, with an imaginary line that crosses the entire frame diagonally. This will direct the viewer's attention around the image. Ultimately, you'll end up with a symmetrical, spiral-like picture that will be appealing to the eye.
Phi grid
The Fibonacci spiral, and the Phi grid geometrical principles can greatly enhance your compositions. The golden ratio is 1.618 to one, and it is based on natural spirals. You will get a better picture with less chaos if you use the golden ratio. You'll need to learn how to incorporate the Phi grid into your photography.
Rule of thirds
Many photographers argue that the rule o' thirds in photography can be a poor foundation for composition. It limits creativity and leads to bland and formulaic images. But the rule of threes isn't the only rule for composition. Breaking it can be a great way to try new ways of creating photos. However, if you want to master this technique, you should try to understand the rules and how they work first.
The field is only shallow
The concept of shallow depth of field in fibonacci spiral photographs was developed by Albert Einstein. The Fibonacci Spiral, a complex compositional device that is based on the Golden Ratio, is an example of this. This ratio of 1.6 to 1 creates a spiral pattern with decreasing squares. If drawn upside down, the arc from the inner corner squares forms a spiral.
FAQ
Do I Need A Tripod?
This is one question that everyone wants to know. The truth is that a tripod isn't always necessary, but it can come in handy.
It helps you keep your camera steady while taking pictures at slow shutter speeds. A tripod can make all the difference when you're photographing landscapes or other stationary subjects.
On the other hand, if you're photographing moving subjects such as sports or people, using a tripod can cause blurriness. How can you tell which situations call for a tripod and why?
A tripod is useful when you need to photograph stationary or fast moving subjects. Examples include:
-
Sports
-
People
-
Landscapes
-
Close-ups
-
Macro shots
Try this test to find out if you really need a tripod. You can hold your camera still while you look through the lens. A tripod is necessary if you notice blurred lines or movement.
A tripod won't make any difference if there is no blurring.
If you do decide on a tripod purchase, these are some things to remember.
-
Smooth legs are a must for your tripod. This helps to prevent vibrations from shaking the camera.
-
Use a sturdy tripod. Some tripods may be made from plastic, which can make them less durable. You should opt for a steel tripod.
-
Consider purchasing a remote release. This allows you to control your camera remotely. You can set it to fire the shutter once you press the button automatically.
-
You should look for a tripod with 360 degree rotation. This makes it easier for you to position your camera horizontally, or vertically.
-
Keep in mind that tripods aren't cheap. Expect to spend between $100 and $200. However, you'll get lots of value for your dollar.
-
Accessories like memory cards and filters should not be forgotten.
-
Before shopping online, be sure to visit your local shop. Many retailers offer free shipping.
-
Review a product to find out what other customers think.
-
Ask family members and friends who own similar products.
-
To learn more about customer experiences, you can visit forums and message board.
-
You can search online for reviews from other users.
-
Use websites like Amazon.com to compare prices and read customer feedback.
-
Check out these photo galleries for an example of the work that photographers do with their tripods.
Is digital photography hard?
Digital photography isn’t as easy as you may think. It takes time to master the tools. It is important to be familiar with the settings that are best for each type of shot. Learning by doing is the best way to learn. Practice makes perfect.
What makes a camera bag good?
A camera bag protects your gear and is essential when traveling. Here are some factors to keep in mind when choosing a bag.
-
Sizing: A large bag will hold your camera and other accessories. You shouldn't buy more than what you actually need.
-
Durability: Choose bags made from durable materials like leather, canvas or nylon. Avoid plastic and fabric bags.
-
Protection: Make sure your bag provides protection against dust, dirt, moisture, and scratches.
-
Organization: Sort your gear by type in order to make it easy to access the items you need. Your lenses, memory cards, and battery charger can be placed in different compartments.
-
Comfort: Keep your hands free when shooting by using a shoulder strap instead of a handbag. Look for comfortable designs with padded straps.
-
Price: Check around to find the best prices. Some brands sell their products at discount prices, which can be an added bonus.
-
Warranty: Check to see if the company offers a limited warranty. This will allow you to know who to contact if your bag becomes damaged.
Statistics
- In this case, 100% of readers who voted found the article helpful, earning it our reader-approved status. (wikihow.com)
- While I cannot prove that all of those spots were not sensor dust, the photo was taken during a heavy snowstorm…so I guess that 99.8% of the spots are snowflakes. (bhphotovideo.com)
- By March 2014, about 3 million were purchased monthly, about 30 percent of the peak sales total. (en.wikipedia.org)
- The second easiest way to get blurry photos 100% of the time is to use a cheap filter on the front of your lens. (photographylife.com)
External Links
How To
How to Take Pictures of Yourself
Portraits are important because of their ability to show who you actually are. They can also tell your life story. Perhaps you have a favorite image of yourself from when you were younger. But now, you want to capture something more. It's easy to forget how much fun taking pictures can be. Here are some tips for getting started.
-
Make sure you have enough light. Photographing portraits in the early morning or later in the afternoon is the best time. Flashes should not be used in direct sunlight. This will blur any details. Also, don't shoot at noon. There will be too many shadows.
-
Use a tripod. If you are holding the camera still, there will be no movement. It will also prevent you from freezing action. And if you're going to use a flash, set up your shot first without it. After that, turn off the flash again and start over.
-
Take close-ups. Closeups are great for showing detail. You might find them a little too realistic if your eyes aren't sharp enough. Pay attention to the eyes, noses, and mouths of people. Are there any unusual features? Is it possible that someone is wearing glasses? Are there freckles on her nose? These details add depth to an individual's appearance.
-
Don't force smiles. Smiles can be difficult. Many people smile naturally when happy. However, others may not. Forcing them to smile is a bad idea. Consider what makes you smile. You might find something silly, like a cat leaping through a hoops. You might even love the process of paint drying. Whatever it is, keep thinking about it until you start laughing.
-
Find your creative side. People often think of themselves as boring. However, being boring is not a bad thing. Be creative and find ways to escape the norm. For example, you could ask someone to pose with his hands behind his back. Or you might suggest having him wear a funny hat.
-
Keep practicing. You will improve your ability to capture moments if you keep practicing every day. As you improve, you will be able to see more interesting events around you.
-
Have fun. Photographing should be fun. You'll be more inclined to return to the same process if you enjoy it. You might even end up with some pretty cool photos.
-
Your work should be shared. Once you learn how to take good pictures, share them with friends and family. Explain to them why you took that picture. Tell them where you went. Tell them about your adventures.
-
Be patient. Sometimes, you won't get it right. It happens for everyone. Don't worry. Just move on to another image.