Dynamic Symmetry, also known as the symmetry among patterns with the same number and number of vertexs, found its way into art schools during the 1920s. It was first published in the summer 1920 catalog by the New York School of Fine and Applied Art (later Parsons). In the following years, it became an integral part of Life Drawing classes. It was extended in 1925 to include figure and composition drawing. It was designed for architects and sculpturers. Special evening classes were available for commercial artists or painters.
Inorganic patterns
Dynamic symmetry is one of nature's primary design schemes. It is a fundamental property that nature has, and it can be found in many different forms, including in plant forms and in the human skeleton. It is an aesthetic quality, and it introduces a degree of artistic value.
Phyllotaxis Lattices
Phyllotaxis lattics with dynamic symmetry can be expressed mathematically as spirals that have a specific angle at each node. This is an important concept for observational studies of phyllotactic counting and in the evaluation Fibonacci structure in lattices. There is however an important exception to the textbook version. This is why a paper version of the Theorem, with proof and statement, is now available.
Phyllotaxis derived rectangles
The pattern of cross-curves within two-dimensional spaces with symmetrical structures is called Phyllotaxis. This principle is found in ancient Greek and Egyptian cultures, as well as Hindu cultures. It is associated with altar ritual and the Delian problem, and suggests life and movement. It is also considered one of art's most powerful modulating agents.
Static symmetry
Dynamicsymmetry is a mathematical concept different from static. Dynamic symmetry refers to forms that are unfolded along a specific "root", or diagonal according to the laws. These rules of symmetry cover the relationships between primary figures, their reciprocal relationships, as well as root rectangles. Dynamic symmetry can be illustrated in the Phyllotaxis. It can be applied in the study and application of physics as well as nature.
Dynamic symmetry grids
Dynamic symmetry allows you to use geometric patterns in your photography. These patterns can be used to create a variety of designs. You can use these patterns to create many designs, including the baroque diagonal, root rectangles and the golden ratio. While this type ofsymmetry is not used often in photography, it does play an important role in many modern art works.

Applications in architecture, art and engineering
J. Hambidge introduced dynamicsymmetry as a geometric principle to architectural proportioning. The idea was developed by Hambidge through his research on natural form-building. He also studied traditional architecture's proportions. His research lead to dynamic symmetry, which is a new concept.
FAQ
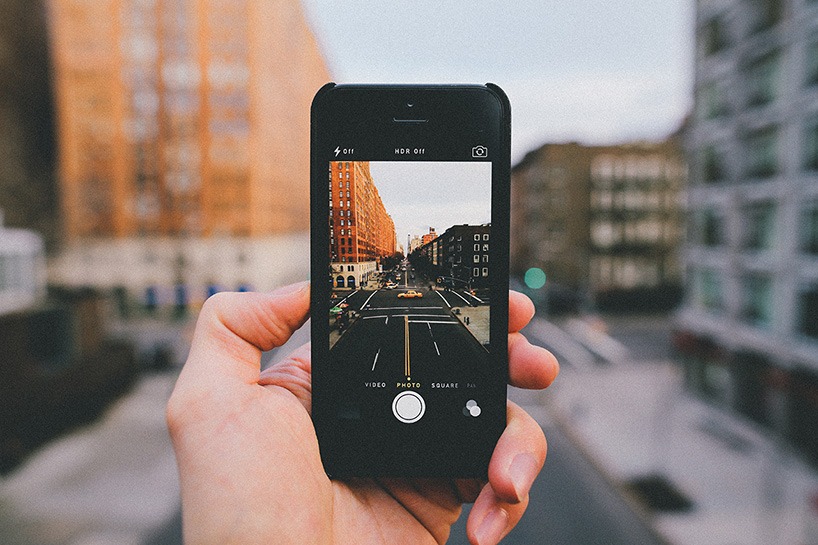
What is the rule to thirds in photography
The rule-of-thirds is a simple way to create interesting compositions using no complicated camera settings. It divides your image in nine equal parts, vertically and horizontally. This creates three main areas where you want your subject to appear. These areas are the top, middle and bottom. These areas are useful for positioning your subject in your frame.
The rule of Thirds helps you avoid placing crucial elements too close together. If they are too close to each other, it may be difficult for them to make a strong visual impression. They may lose focus if they're too far apart.
What Camera Should I Get?
It all depends upon what kind of photographer your goal is to become. A basic point-and-shoot camera is probably all you need if you're just starting out.
Once you have mastered the basics you will likely need something more advanced. The choice really comes down to personal preference.
Here are some things to consider before purchasing a camera.
-
Features: Which features are most important? Are you going to use autofocus, manual settings, or both? How many megapixels is your camera capable of? Is there an optical viewfinder?
-
Price: How much do you want to spend? Are you planning on upgrading your camera every two years?
-
Brand: Do you feel satisfied with the brand you choose? You shouldn't settle for less.
-
Functionality: Can your camera operate in low light conditions well? Are you able to take high-resolution images?
-
Image Quality: How clear, sharp, and crisp are your images.
-
Battery Life: How long can your camera last before it needs to be charged?
-
Accessories: Do you have the ability to attach flashes, additional lenses, and so forth? ?
Cameras: Where to Buy?
You can find many places online to buy cameras. We recommend purchasing from a trusted retailer such as B&H Photo Video. They have knowledgeable staff that can help answer any questions you may have.
B&H ships your order quickly and securely.
Check out this video to learn more about purchasing cameras.
Light Room is a great way to enhance your photos.
You can get great photos if you start early. It's better to take as much as possible, then select the best.
Lightroom makes this possible by showing you how different settings affect each photograph. These settings can be adjusted on the fly without having to go back into Photoshop. This lets you quickly experiment with what looks great and what doesn't.
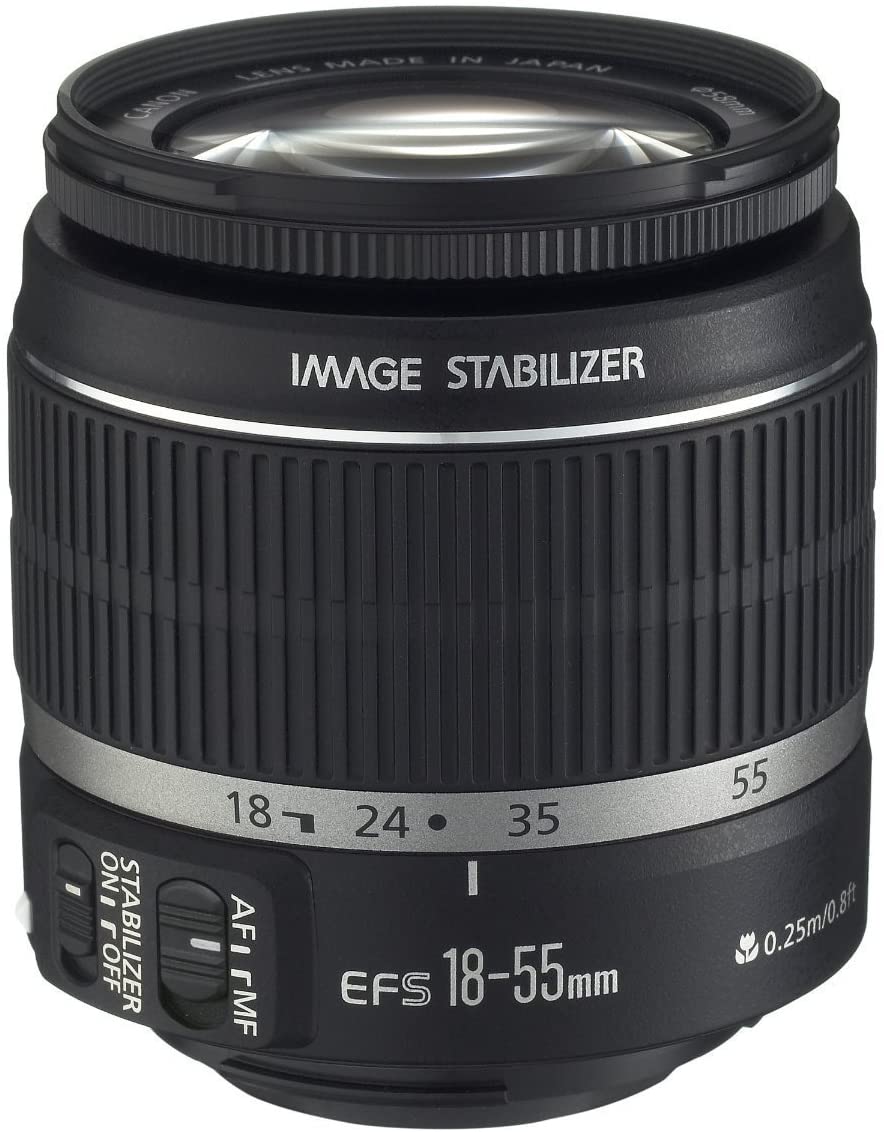
Which Lenses should I Use?
The most popular question that beginners ask is "What lens do I need?" Because there are so many options, it can be difficult to choose.
The good news is that you don't necessarily need to buy a new lens every time you purchase a new camera. You can simply add lenses later.
There are three types possible lenses.
-
Wide Angle Lens: 14mm - 24mm: These lenses provide a wide angle of vision, which allows you to capture more details of your subject. You can zoom in, but not lose image quality.
-
Standard/Normal Zoom Lens (28mm-70mm): These lenses let you change the focal length while still maintaining excellent image quality.
-
Telephoto Zoom Lens (70mm, 200mm): These lenses work well for distant subjects. These lenses allow you stay focused on your subject even when they appear small.
These lenses can be combined in a variety of ways to create new effects. One example is to use a regular lens to photograph close-up details and then switch to a long-range lens to capture faraway objects.
Is digital photography hard?
Digital Photography is not as easy as you think. It takes time and effort to learn how to use the tools properly. You need to know what settings to use for different types of shots. It is best to practice what you have learned. Practice makes perfect.
Statistics
- Get 40% off Adobe Creative Cloud(opens in new tab) (creativebloq.com)
- In this case, 100% of readers who voted found the article helpful, earning it our reader-approved status. (wikihow.com)
- There are people out there who will pick at flaws they can only see in 100% crops of your photos. (wikihow.com)
- The second easiest way to get blurry photos 100% of the time is to use a cheap filter on the front of your lens. (photographylife.com)
External Links
How To
How to take photos in low light conditions
Low-light photography means taking photos in dimly lit areas. It requires special equipment. The main challenges in this field include controlling exposure, whitebalance, and sharpness. There are two types low-light photography: ambient and flash. Flash photography works best when there is enough lighting around. A flash is required if there isn’t enough light. If your subject is outdoors but indoors, you might not have enough light to take a great picture without a flash. Shooting at night in the moonlight hours is a good alternative to using a flash. You will get beautiful shadows and colors. Another option is shooting at twilight. Twilight is when the sun sets but there's still daylight.
Long exposures may be something you want to explore. Long exposures allow you to record images after the shutter has been open for several minutes. The camera records only light falling on the sensor if it is kept closed. This light will continue to fall onto your sensor after a long exposure. However, because the shutter remained shut, no new light enters the lens. You will see very little movement as a result. To ensure a clear image, you should turn off all automatic settings such autofocus or exposure. Before you begin shooting, adjust your ISO setting. An ISO setting of 200 will give you more control over the brightness or darkness of your image. Finally, when you're ready to take the shot, press the shutter button quickly. The shutter will close completely. Next, hold the shutter button down until the end. By holding down the shutter button, you prevent additional light from entering the camera. Wait a few seconds after you have taken the photo before you release the shutter button. This allows the camera's to process the image. You can view your photos while you wait on the camera. Once you are satisfied with the photos, save them onto your computer.