Photographers have many wonderful tools in their arsenal. We will be discussing a few of these tools in this article, including the Neewer NW-670TTL Flash Speedlite as well as the LYNCA Card Case Holder. These tools can simplify your photography and allow you to take better pictures.
Calendly
Calendly is an app that makes it easier to schedule appointments and photo sessions. Its built-in calendar syncs to Google calendar. Users can set a limit on how many bookings they are willing to accept each day. This tool allows photographers the ability to schedule one-time events. Clients can cancel and reschedule appointments.
The best thing about the app is its ability to be used by clients and photographers. It is easy to use and can be used to send reminders or emails to clients. You can integrate it with other programs. It can be embedded onto your website or sent to clients as an email link.
Neewer NW-670 Flash Speedlite TTL
The Neewer NW-670TTL Flash is an excellent tool for photographers. It has a compact design. The flash is powered by either four AAA batteries or an additional power pack. The flash's rotary head is easy to turn and rotates smoothly. This reduces the likelihood of the flash's head accidentally being flipped.
It can be used to flash a single main light, bounce flash, fill flash, single main or direct flash. It can also work off-camera, making it suitable for macro work. Compatible with Canon cameras, Neewer NW-670 works well. There are several models available for the flash.
LYNCA Card Case Holder
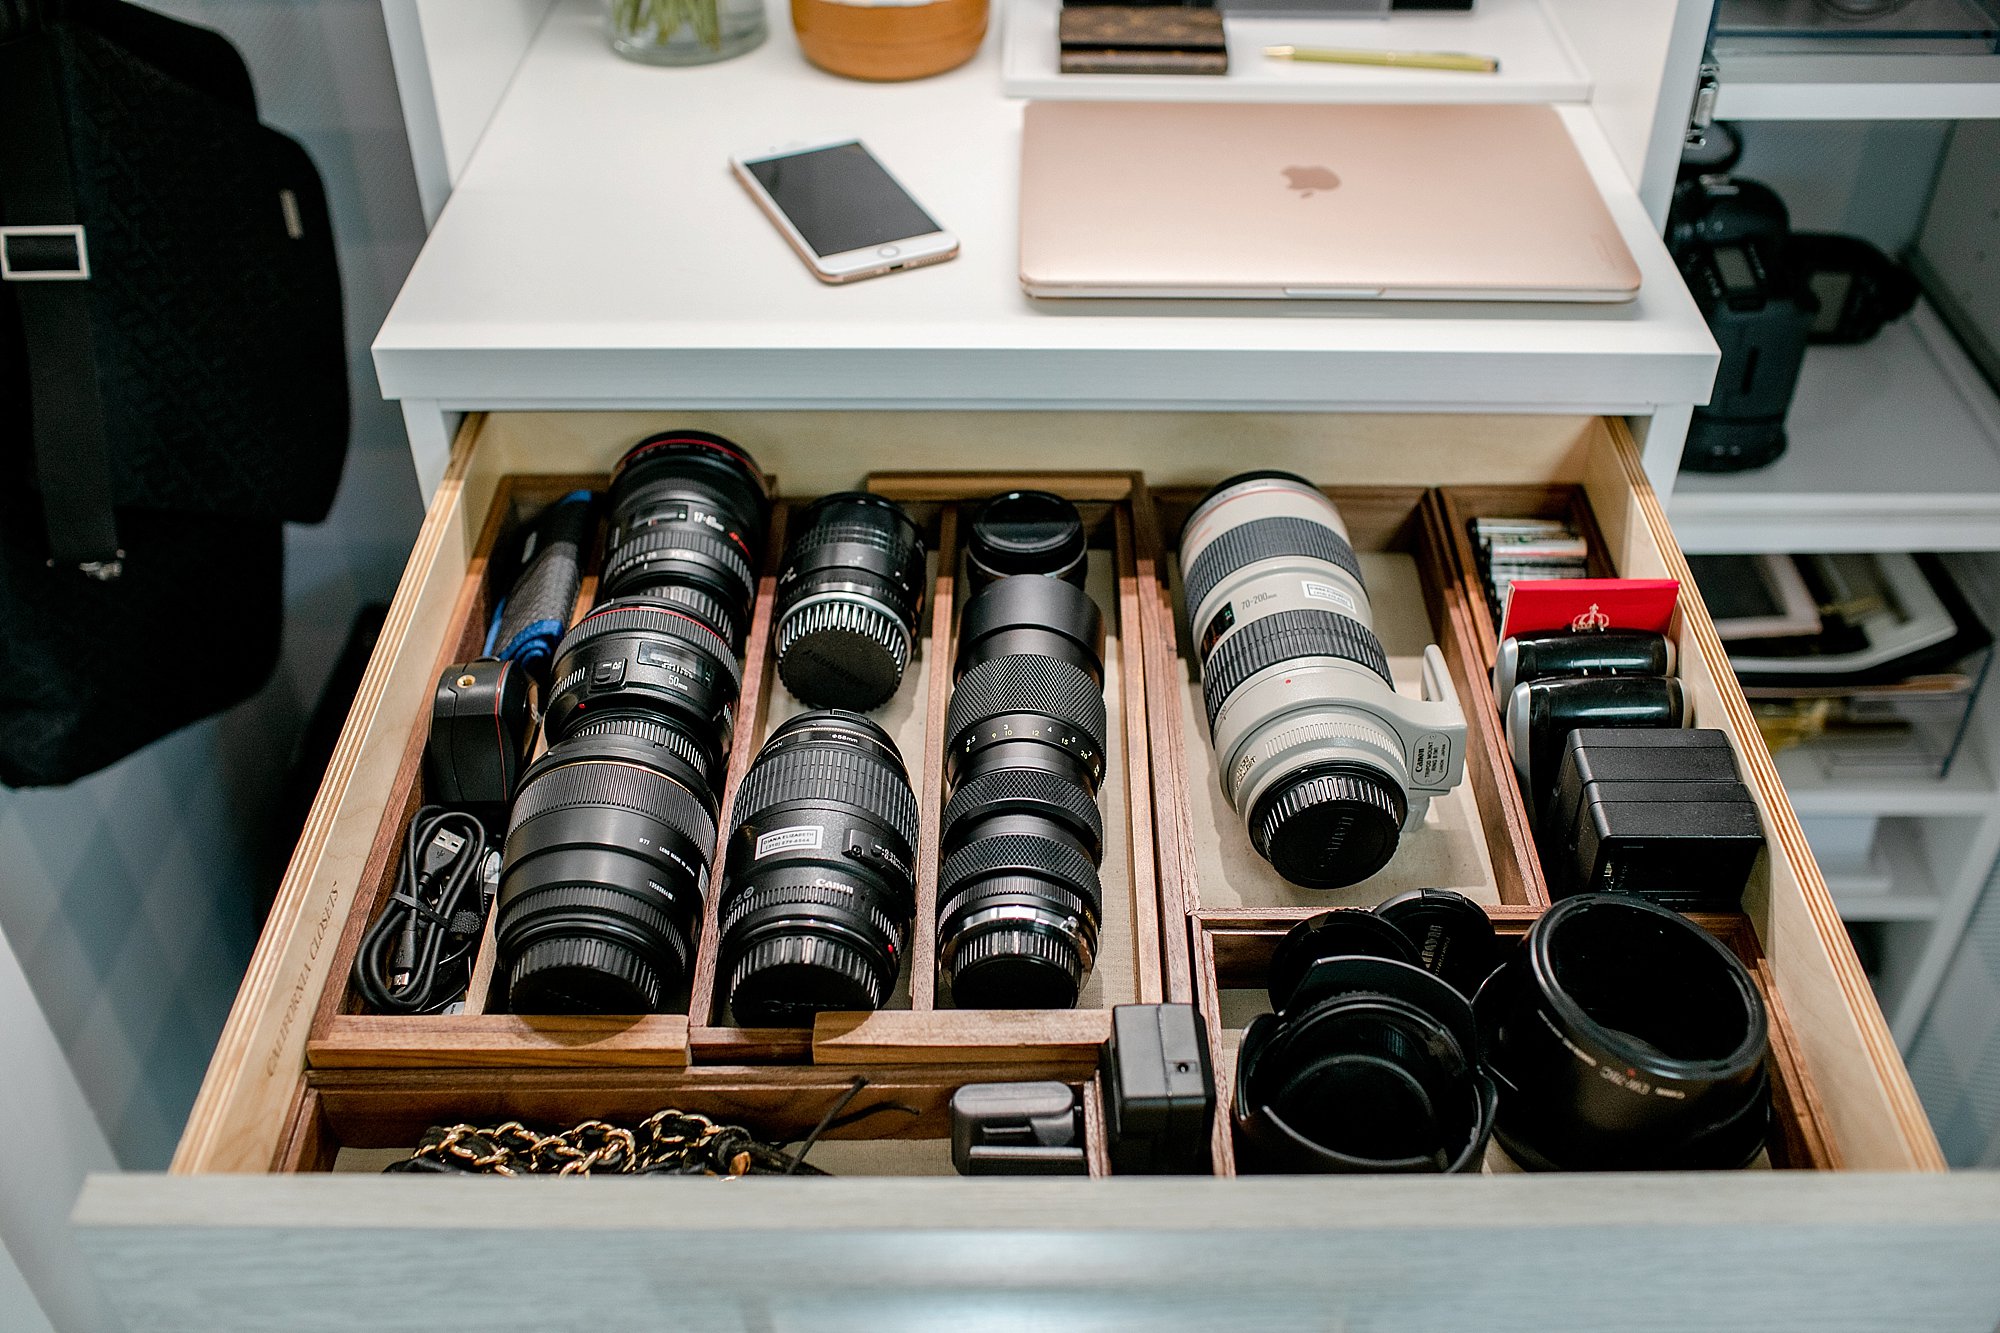
The LYNCA Memory Card Holder is a great tool for photographers to protect their cards. This handy holder can hold up to 24 cards. It is compact and easily transportable. It also features a belt loop so you can easily attach it to your clothing. This product is ideal if you value safety and like to shoot in all types of weather. For adventure photographers, however, you might need a ruggeder case to protect your photos from the elements.
This slim memory card holder is lightweight and can hold multiple SD cards or TF cards. It has six slots that can hold Mini SD cards. It is strong and waterproof. It can be carried in any type of camera bag.
Honeybook
Honeybook is a tool that helps photographers organize their clients. Many photographers are responsible for many different tasks such as marketing, client experience management, and I.T., so a tool like Honeybook can make this process much easier. Support and training are also provided by Honeybook for photographers.
HoneyBook has a simple user interface. It also includes a powerful, project management system. You can manage client information and set up timelines. Add team members and monitor billing and payments. You can also allow clients to pay for invoices online, reducing the hassle of writing checks or scanning and mailing them.
Lightroom
Lightroom has many ways to enhance your photos. You can alter the exposure, white tone, and many other options to give your photos a professional feel. The Develop module includes two sets of panels as well a toolbar that allow you to make quick edits. The Navigator panel lets you preview changes to your photos, while the Presets, Snapshots, and History panels allow you to save changes to the photos you're working with. A Histogram panel allows you to adjust the colors of your photos.
Lightroom's Edit Check feature allows you to check for any mistakes in your photos, and it's recommended for any photographer who wants to make sure each photo is processed correctly. This feature is especially helpful for photographers who receive a variety of photos from clients. Lightroom also includes an import function, which allows you upload lists of filenames to the program.
FAQ
How can I learn how to photograph on my own.
If you want to learn how to take great photos, there are many ways to do this. There are several options. You can read a book, go to a class, or join an internet community. If you really want to learn how to take pictures, it's best to do it yourself. You have full control over the final product. You'll only get better as long as your learning continues.
One of the best aspects about digital photography is that it doesn't require any expensive equipment. All you need is an internet connected computer and a camera. The rest is up for you.
Here are some tips for getting started:
-
Make sure you are familiar with your camera’s manual settings.
-
Learn how the basic controls work.
-
Take many photos.
-
Modify them.
-
Share them.
-
Keep practicing.
-
Experiment.
-
Try different angles and perspectives.
-
Use light sources creatively.
-
Practice makes perfect.
-
Don't be afraid to fail.
-
Be patient.
-
Have fun
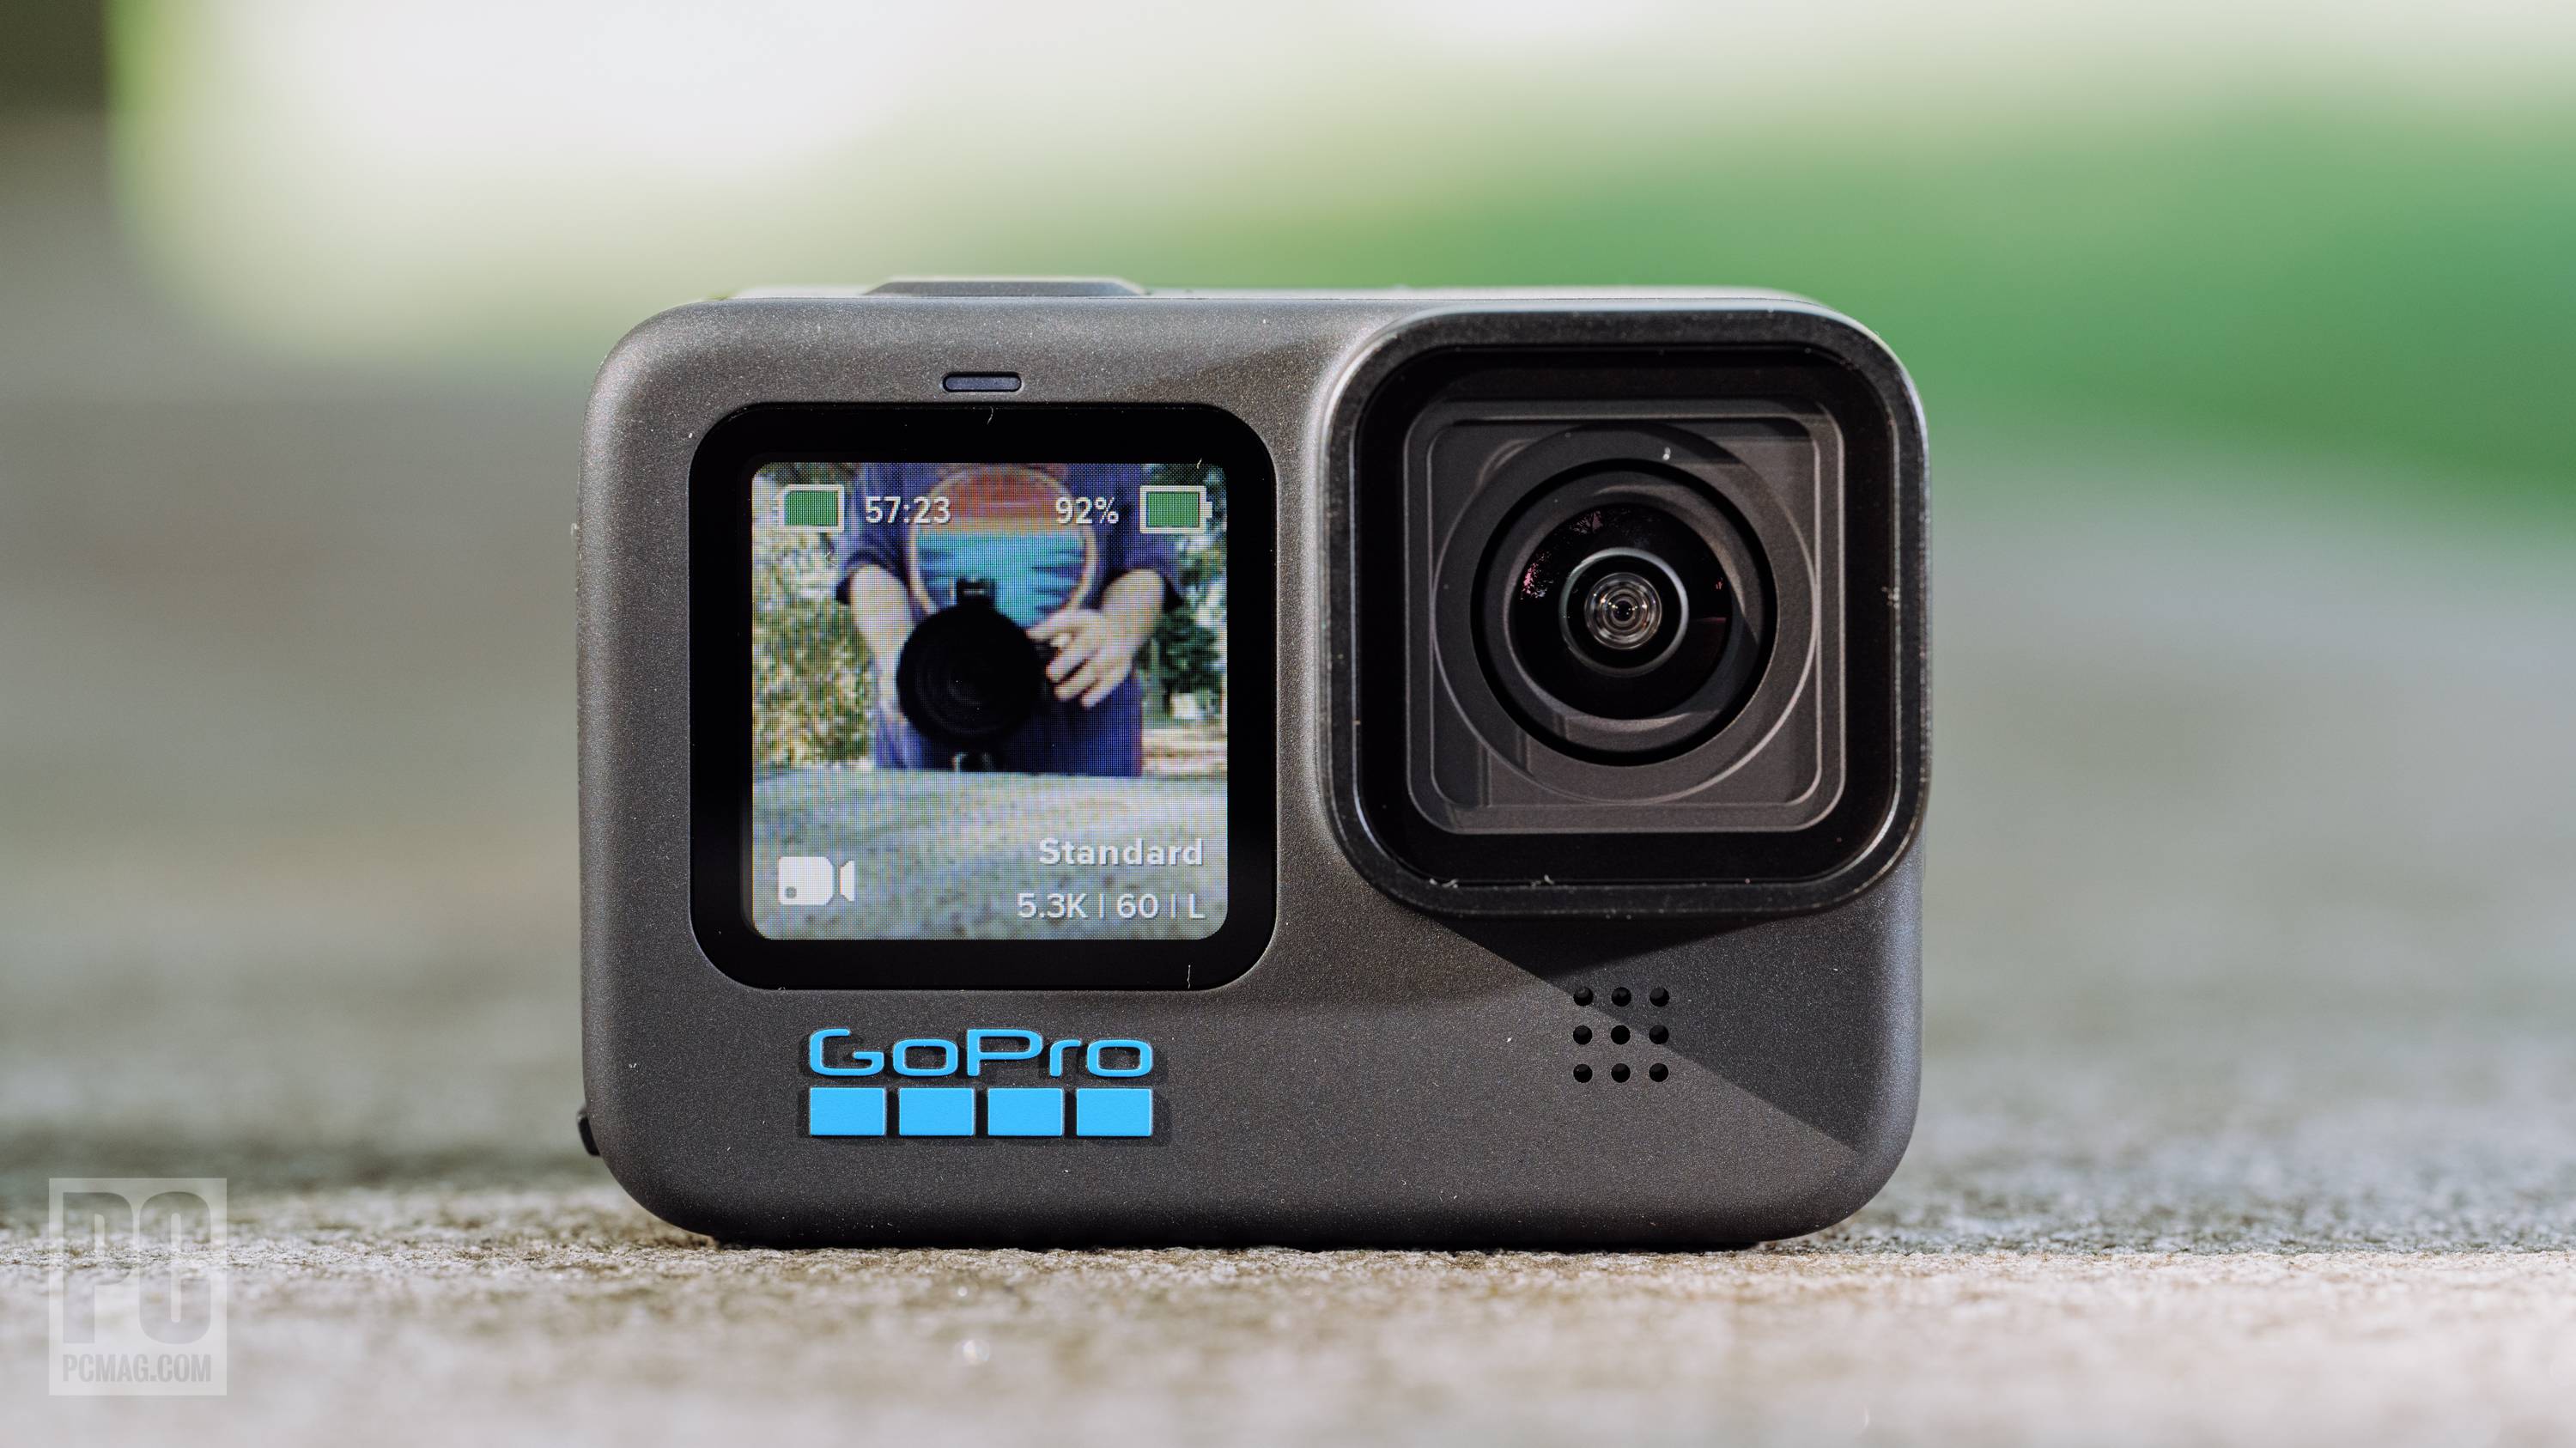
Cameras for Sale
Cameras can be purchased online from many different places. We recommend purchasing from a trusted retailer such as B&H Photo Video. They are able to assist you with any questions.
B&H ships fast and securely so it is easy to have your order delivered at your doorstep.
This video will explain how to shop for cameras.
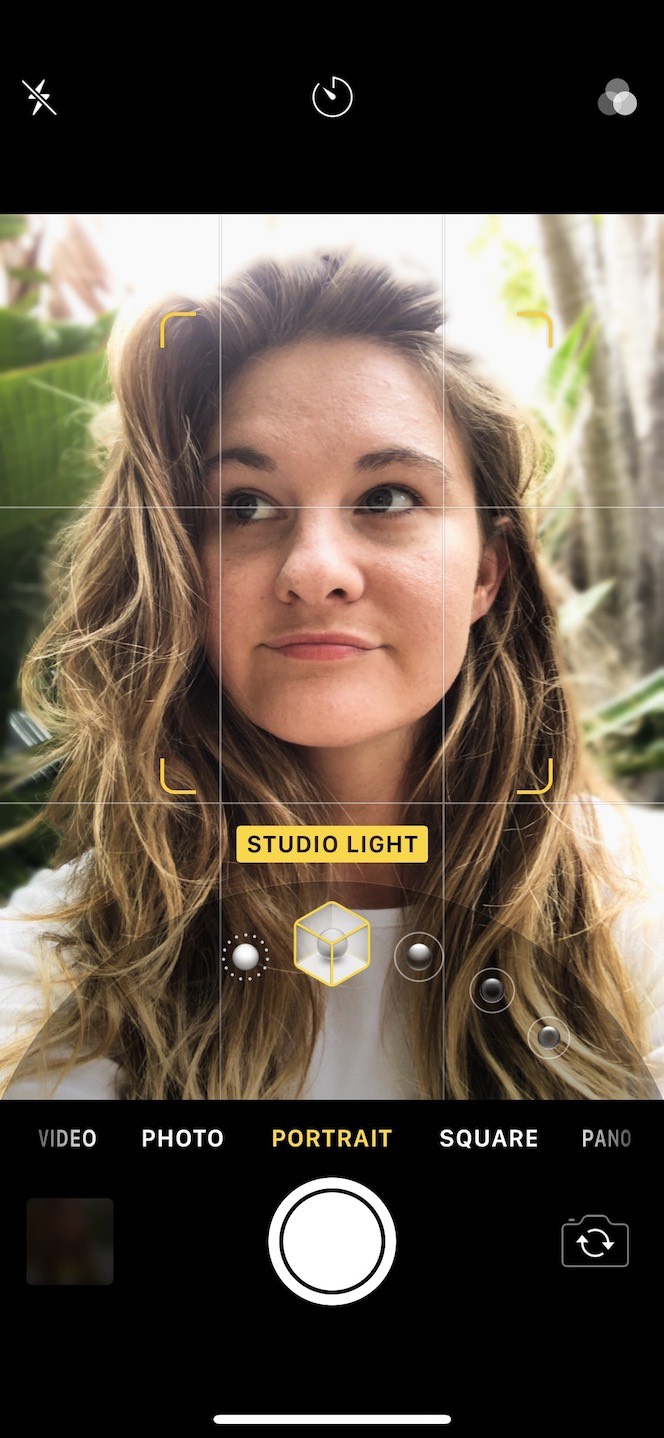
What can I do to improve my photography skills with my phone?
You don't need expensive equipment to take great photos! Amazing photos can be taken with your smartphone.
All you need to do is to be able to use the features of the program and to master some basic techniques.
There are many apps that both Android and iOS users can use to edit and share their photos.
Here are five tips that will help you start taking better photographs.
-
Set Up Your Camera App. Your camera app should come pre-installed on your device. You can download the camera app from Google Play and Apple's App store.
-
Use filters and effects. You can change the look of your photo with filters and effects without even touching it.
-
Adjust the Exposure. Adjusting the exposure can help you control the brightness in your picture.
-
Photograph in the Right Light The brighter the light, the easier it is to see details. Photographing in low light conditions allows you to capture the highlights and shadows of your image.
-
Take Pictures Of People. Taking pictures of people shows others the things you love most.
For more information on how to take better photos, read our article: 5 Tips to Improve Your Photography Skills With A Smartphone
What is the rule for thirds in photography?
The rule of Thirds allows you to create unique compositions with minimal camera settings. It divides the image horizontally or vertically into nine equal pieces. This divides your image into three areas that you would like to see your subject. These are the top (upper left corner), middle (center) and bottom (lower right). These areas are useful for positioning your subject in your frame.
The rule to thirds allows you to avoid placing important elements too closely together or too far apart. They might not have enough space to make an impact on the eye if they are placed close together. They may lose focus if they're too far apart.
Do I Need A Tripod?
This is one of those common questions. While a tripod may not be necessary all the time, it can prove to be extremely useful.
It can be used to steady your camera while you take slow shutter speeds pictures. A tripod can make all the difference when you're photographing landscapes or other stationary subjects.
However, a tripod can blurriness if you are photographing moving subjects, such as people or athletes. How do you decide which situations are best served by a tripod.
A tripod is useful when you need to photograph stationary or fast moving subjects. Examples include:
-
Sports
-
People
-
Landscapes
-
Close-ups
-
Macro shots
If you're unsure whether you need a tripod, try this test. Hold your camera still and look through the viewfinder. A tripod is necessary if you notice blurred lines or movement.
If you don't see any blurring, you probably won't notice any improvement by adding a tripod.
These are just a few tips to help you decide whether or not to purchase a tripod.
-
Your tripod should have smooth legs. This helps to prevent vibrations from shaking the camera.
-
Choose a sturdy tripod. Some tripods are made out of plastic and may not be very durable. Consider a tripod made of metal.
-
Consider purchasing a remote release. This allows you to control your camera remotely. The button can be pressed to activate the shutter.
-
A tripod that can rotate 360 degrees is a good choice. This makes it easier for you to position your camera horizontally, or vertically.
-
You should keep in mind that tripods don't come cheap. Expect to pay $100-200. You will still get a lot out of your money.
-
Don't forget about accessories like filters and memory cards.
-
Before shopping online, be sure to visit your local shop. Many retailers offer shipping free of charge.
-
To find out what customers think about a product, read reviews.
-
Ask friends and family members who own similar products.
-
Visit forums and message boards to learn about customer experiences.
-
Look online for user reviews.
-
Amazon.com offers the ability to search for prices and view customer feedback.
-
Check out these photo galleries for an example of the work that photographers do with their tripods.
Is digital photography hard?
Digital photography isn't as simple as you might think. Learning how to properly use the tools takes effort and time. To be able to take different types of shots, you must know what settings are appropriate. It is best to practice what you have learned. Practice makes perfect.
Statistics
- The second easiest way to get blurry photos 100% of the time is to use a cheap filter on the front of your lens. (photographylife.com)
- There are people out there who will pick at flaws they can only see in 100% crops of your photos. (wikihow.com)
- This article received 13 testimonials, and 100% of readers who voted found it helpful, earning it our reader-approved status. (wikihow.com)
- Get 40% off Adobe Creative Cloud(opens in new tab) (creativebloq.com)
External Links
How To
How to use Lightroom in Photography
Adobe Lightroom can be used by photographers to easily edit photos. It allows you upload your images to one place that can be viewed as well as edited, cropped, liten, and saved. You can also share them online, print them, or email them.
Lightroom comes with editing tools that include cropping, adjusting brightness contrast, and colorbalancing. There are also presets available that can be used to create common effects such as vignette or lens distortion correction. The best thing is that these adjustments can be applied automatically after you export your image.
Adobe Bridge allows access to Lightroom. This allows you browse your collection and organize your files. You can even add keywords and phrases to your images so that you can find them later.
Lightroom's free trial version is a good choice if you're just getting started. This gives you all the basic features. There are two options available if you choose to upgrade. You can either purchase the full version right away or subscribe.
Lightroom can be downloaded in many different ways. One option is to purchase the software directly from Adobe. Another option is to download the trial and convert it to a full-featured license. Here's how you can do it.
-
Download the Lightroom Trial Version
-
Start the program. At the bottom, click "Convert license"
-
Choose the type and payment details that you prefer (permanent/one-year)
-
To finish the process click "Continue".
-
Once the trial version has been converted to a paid licence, you can continue using the license until the end.